


Shipments ready for pick-up...
|
The goal in any packing job is to
ensure that the item arrives completely intact, both externally and
internally.
This can be a very difficult task, but can be made easier if you think about
the forces units can receive in transit if
dropped or handled roughly (both of which WILL happen regardless of
the carrier).
The following process, if followed exactly, is the same we use at Oak Tree
Vintage to pack most R2R tape decks
for shipment. So far in 19 years we have a spotless track record for R2R
decks arriving completely and perfectly
INTACT!
The photos and process below show how to completely surround / cage the unit
in the supplied foam corners,
prior to nesting it in a box of packing fill. The corners are already cut to
length and only minor trimming, if any should be required. If it seems a
piece of foam is "way off" on it's length, then you likely are trying to
install the wrong piece of foam for the position. Things not supplied are
packing tape and 'stretch film'. These are both generally available at most
'office supply', 'home improvement' stores and other retailers.
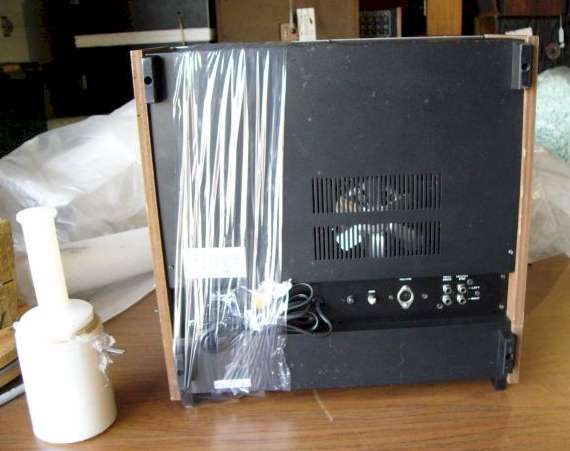
To start, AC cord is stretch filmed
(supplied) to safest,
recessed area. If AC cord is detachable, remove it and attach to side of
wrapped unit later in process.
|
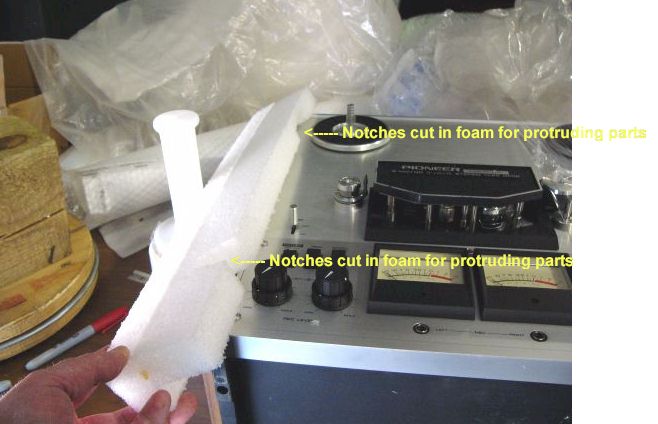
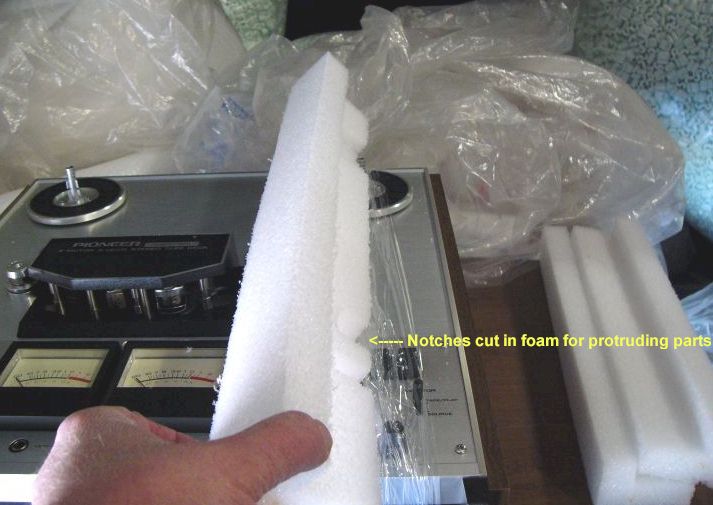
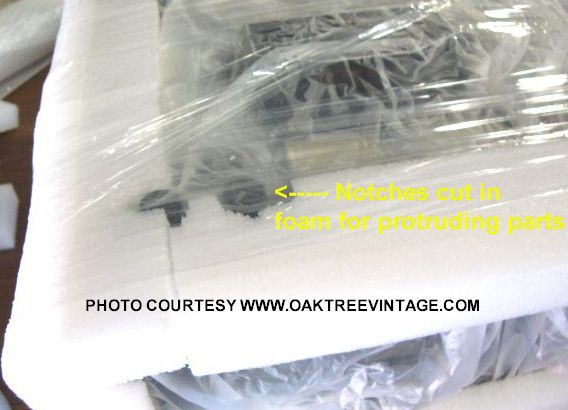
Prior to bagging unit, cut notches
in foam corners (supplied) for protruding parts, and mark them as to location
(the notches may already be cut so check all pieces to see if one makes more
sense than another in a location).
Ensure that the foam will not put pressure on protruding parts,
especially the reel spindles, which
must be protected at all costs, as well as any protruding controls and
plastic feet / skids on the bottom.
|
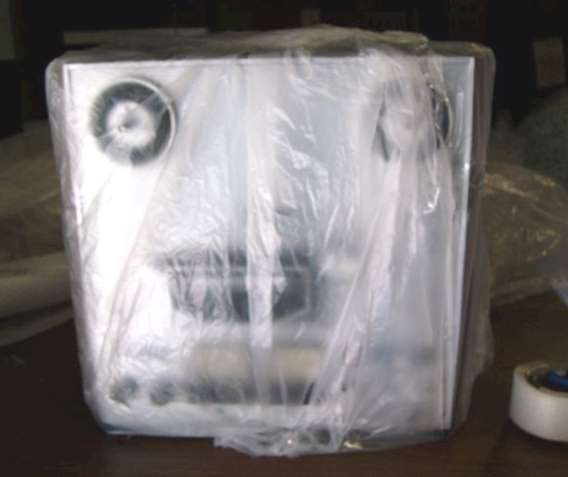
Bag the unit prior to wrapping in
foam corners, as foam will react with many finishes and melt itself to it.
This also keeps out loose fill packing particles. Be careful handling the
unit at this point as it will be slippery in the bag. A few wraps of stretch
film at this point is usually helpful.
|

This is the first layer of foam
corners held in place with temporary tape.
|
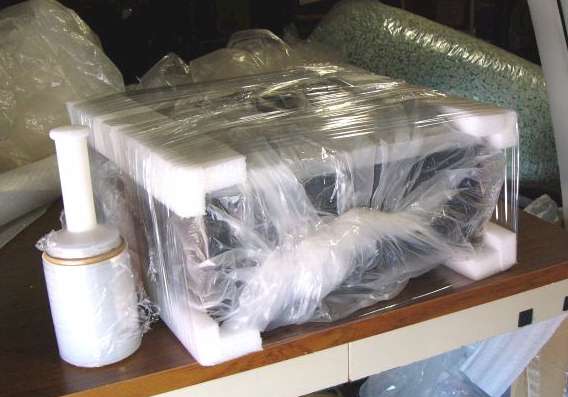
The foam corners are held in place
with tightly wrapped stretch film.
|
|
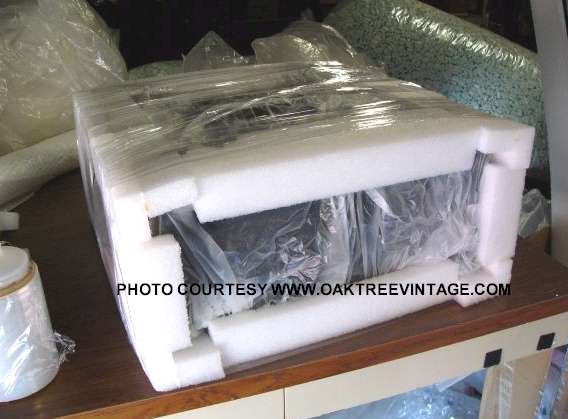
Additional top, bottom and side foam corners are
added and held in place
with tightly wrapped stretch film.
This will completely "cage" in the unit. Make sure the pieces of
foam are up against the edges correctly and not angling up or riding over an
edge prior to wrapping with stretch film.
|
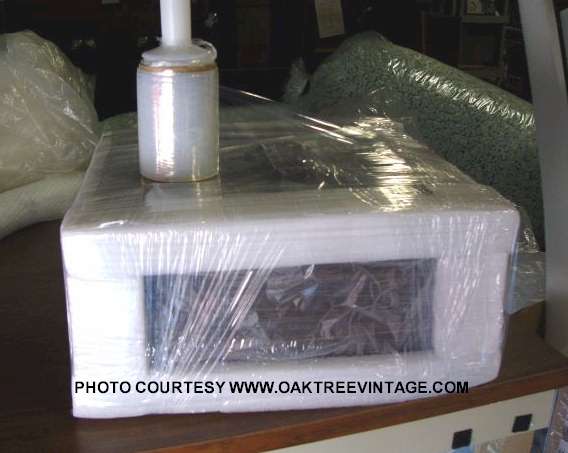
This
is the first layer of foam corners wrapped tightly in stretch film and
again, completely "caging" the unit.
|
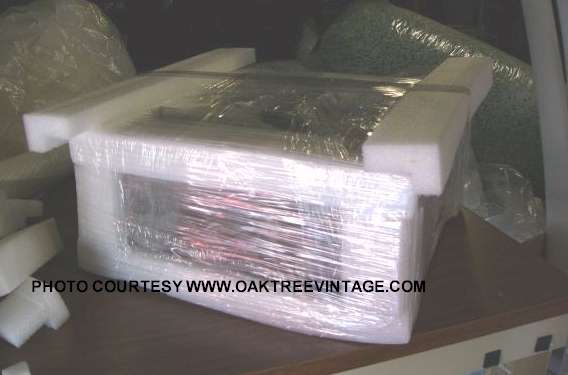
Now a second layer of foam corners
is added over the layers on the front of the deck to elevate the surface of foam well above the spindles.
|
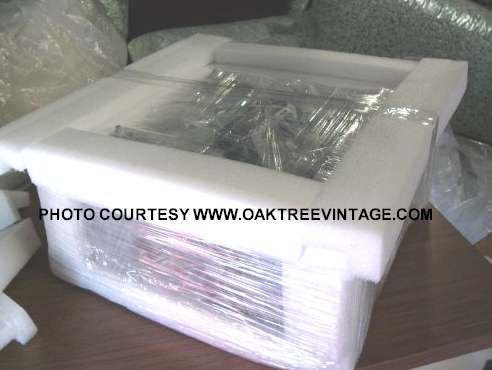
A frame of foam corners around the
front is completed, "caging" the FRONT of the unit. (If you
look near the left, front corner of the foam, you can see the reel spindle
tip sticking up, but still below the surface of the foam and the only thing
touching it is the plastic bag).
|
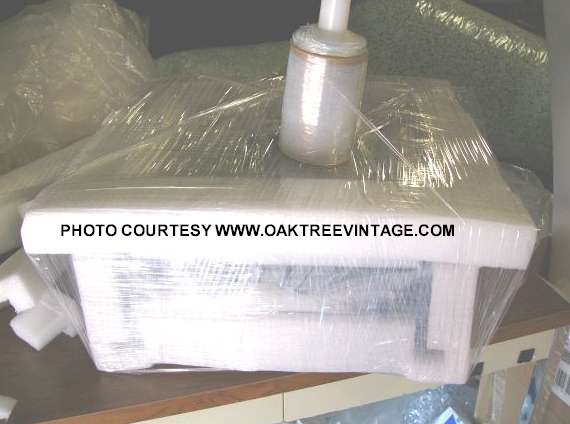
This
is the second layer of foam corners framing the front again, wrapped tightly
in stretch film.
|
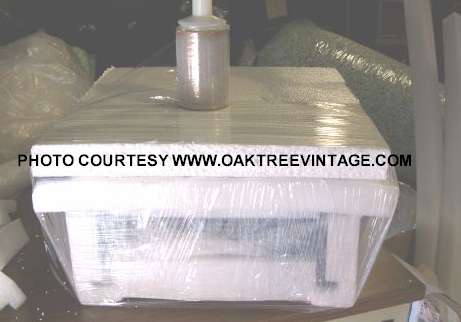
A 2" foam board plate is laid on
top of the foam corners to completely cover the front of the unit, again,
wrapped tightly in stretch film so that the deck and all packing become one
solid unit. This foam board will be above all the protruding parts of the
front of the deck, due to the second layer of foam you built up earlier.
|
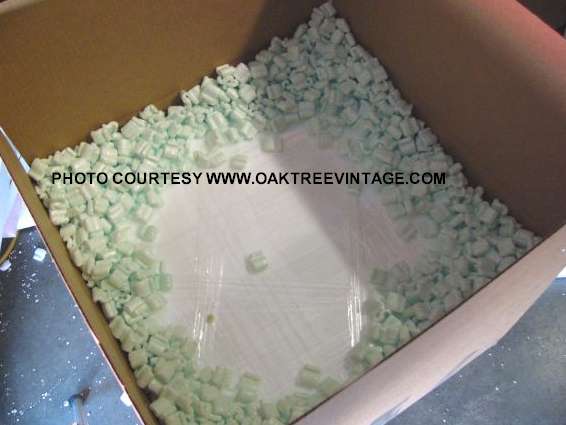
The completely foam housed unit is
suspended inside the box (supplied) of foam fill "peanuts"
(supplied). There should be about 2"
around every side (top, bottom and sides). If there are any reels, they can
be stretch filmed to the "sides" of the unit if they are in boxes. If they
are not, then they should be shipped separately as they will get bent /
warped if shipped with the unit.
The box should be sealed very well on all seams and across the top in at
least 2 directions with packing tape (not supplied).
|
|
- |
| - |
- |
- |


